Microsoft has released a new monofaced font intended for the windows terminals like Command Prompt or Powershell.
The GITHUB project is located here. Let’s install the new font and take a look.
Download the Font
Navigate to https://github.com/microsoft/cascadia-code/releases and download Cascadia.ttf to your desktop.
Install the Font
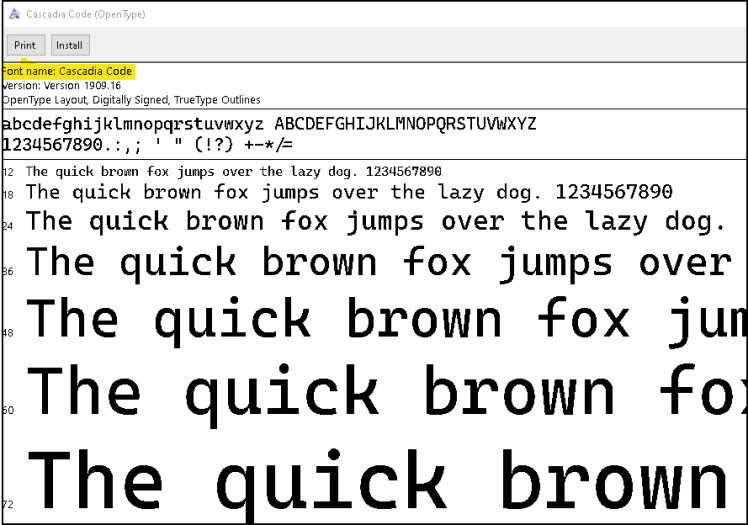
Double click Cascadia.ttf to launch the font viewer. This will show an example of the font.
Note down the exact Font name highlighted in yellow below.
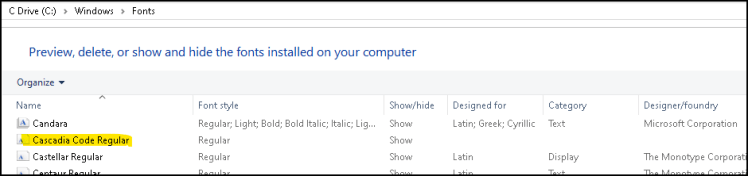
Now click the Install button. Once installed the font will show up in C:\Windows\Fonts.
Enable the Font for Windows Terminals
The windows terminal applications do not allow you to add a custom font through the UI. When I ran the install on Windows 10, it added the font automatically. When I tried it on Windows 7, I had to add it manually. You can determine whether you need to add it manually by bringing up the UI.
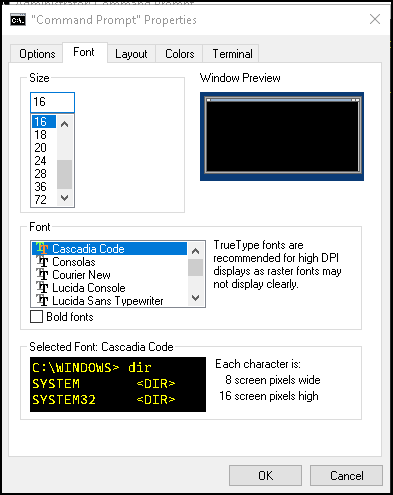
Launch command prompt and right click the top left hand corner and select Properties. Click on the Fonts tab. Notice the Cascadia Code font is present.
If the font is not present add the following registry key below. My system already had a 0 and 00 entry so I picked 000 for the Cascadia font. It is very important you enter the value ‘Cascadia Code‘ which matches the font name noted above. You will need to reboot your system.

Testing the New Font
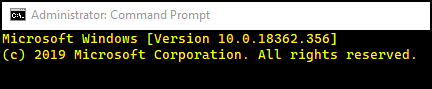
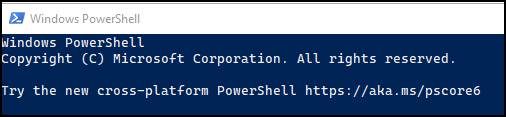
Below are the fonts I was using for Command Prompt and Windows Powershell.

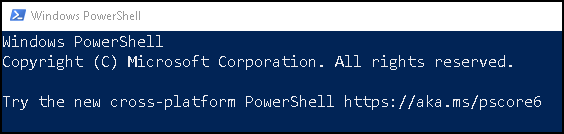
After changing the font to Cascadia, size 16, it now looks like this.
I have to admit, these do look better. I even changed my Putty windows for Linux and it looks good there. Only time will tell as I use them more whether I prefer them.
Note: I had to turn on ClearType because they did look very grainy on my system. Search for “Adject Cleartype Text“.
